Confirming and sending your message
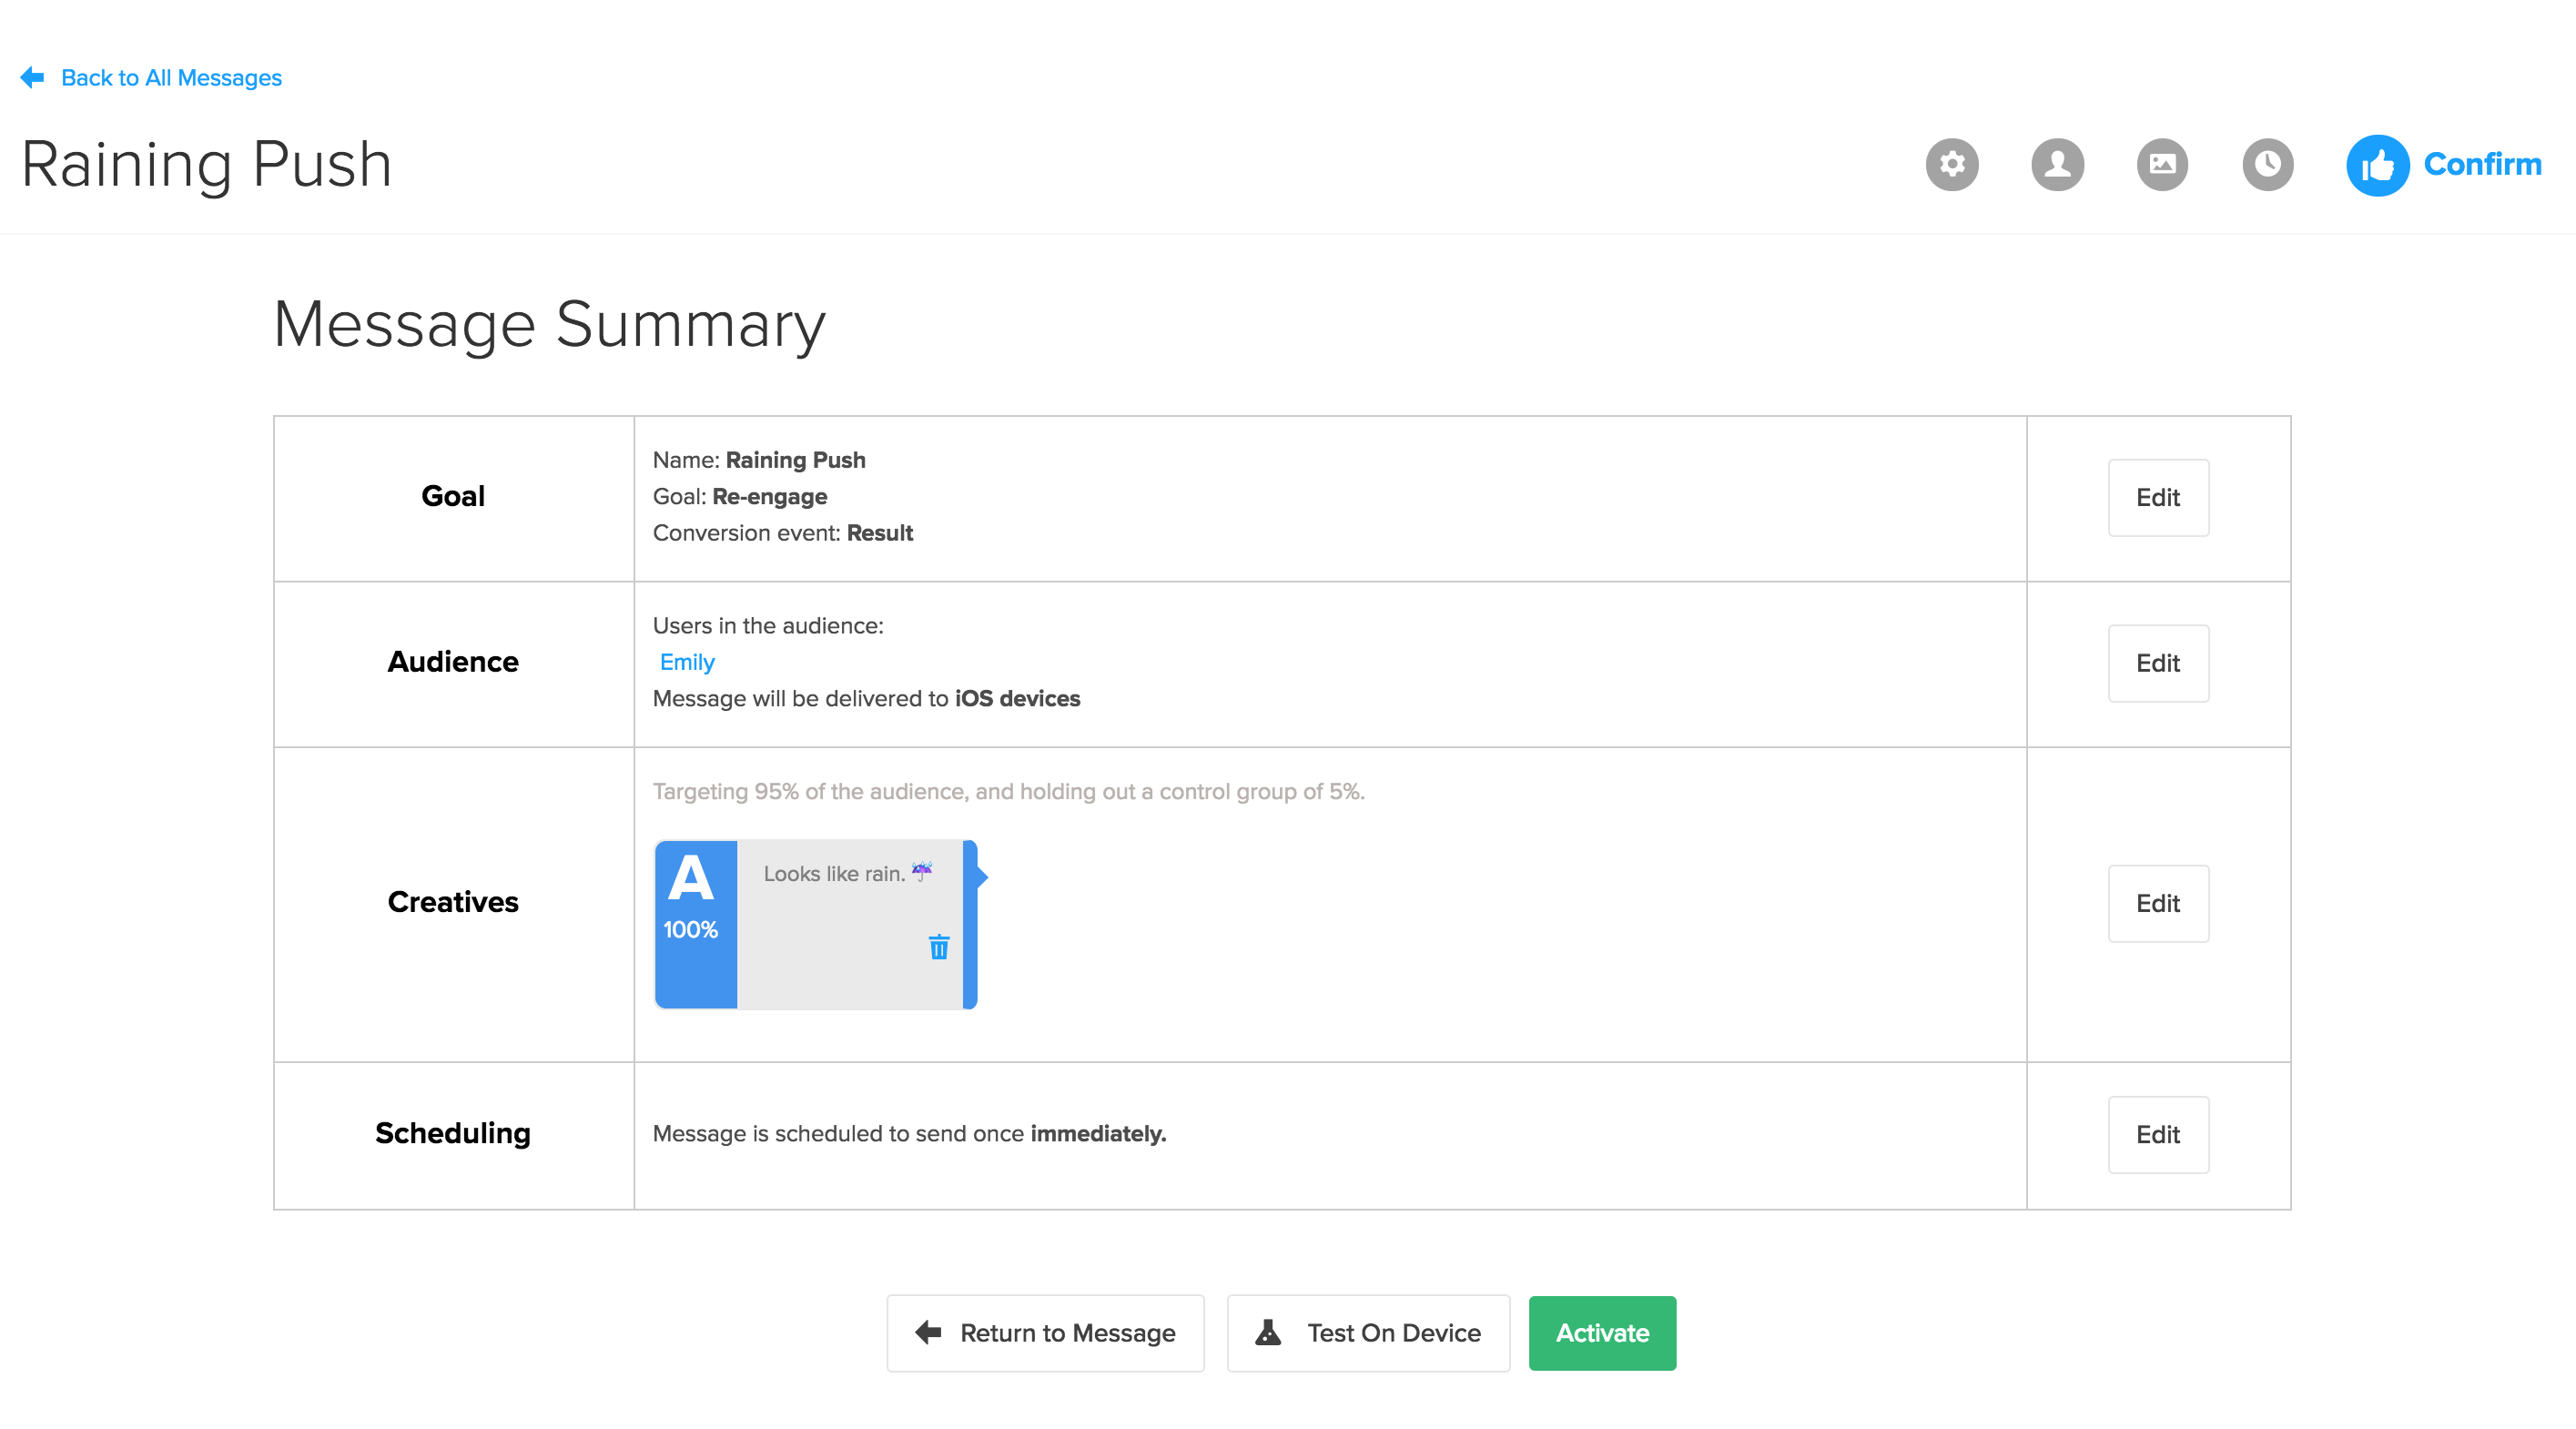
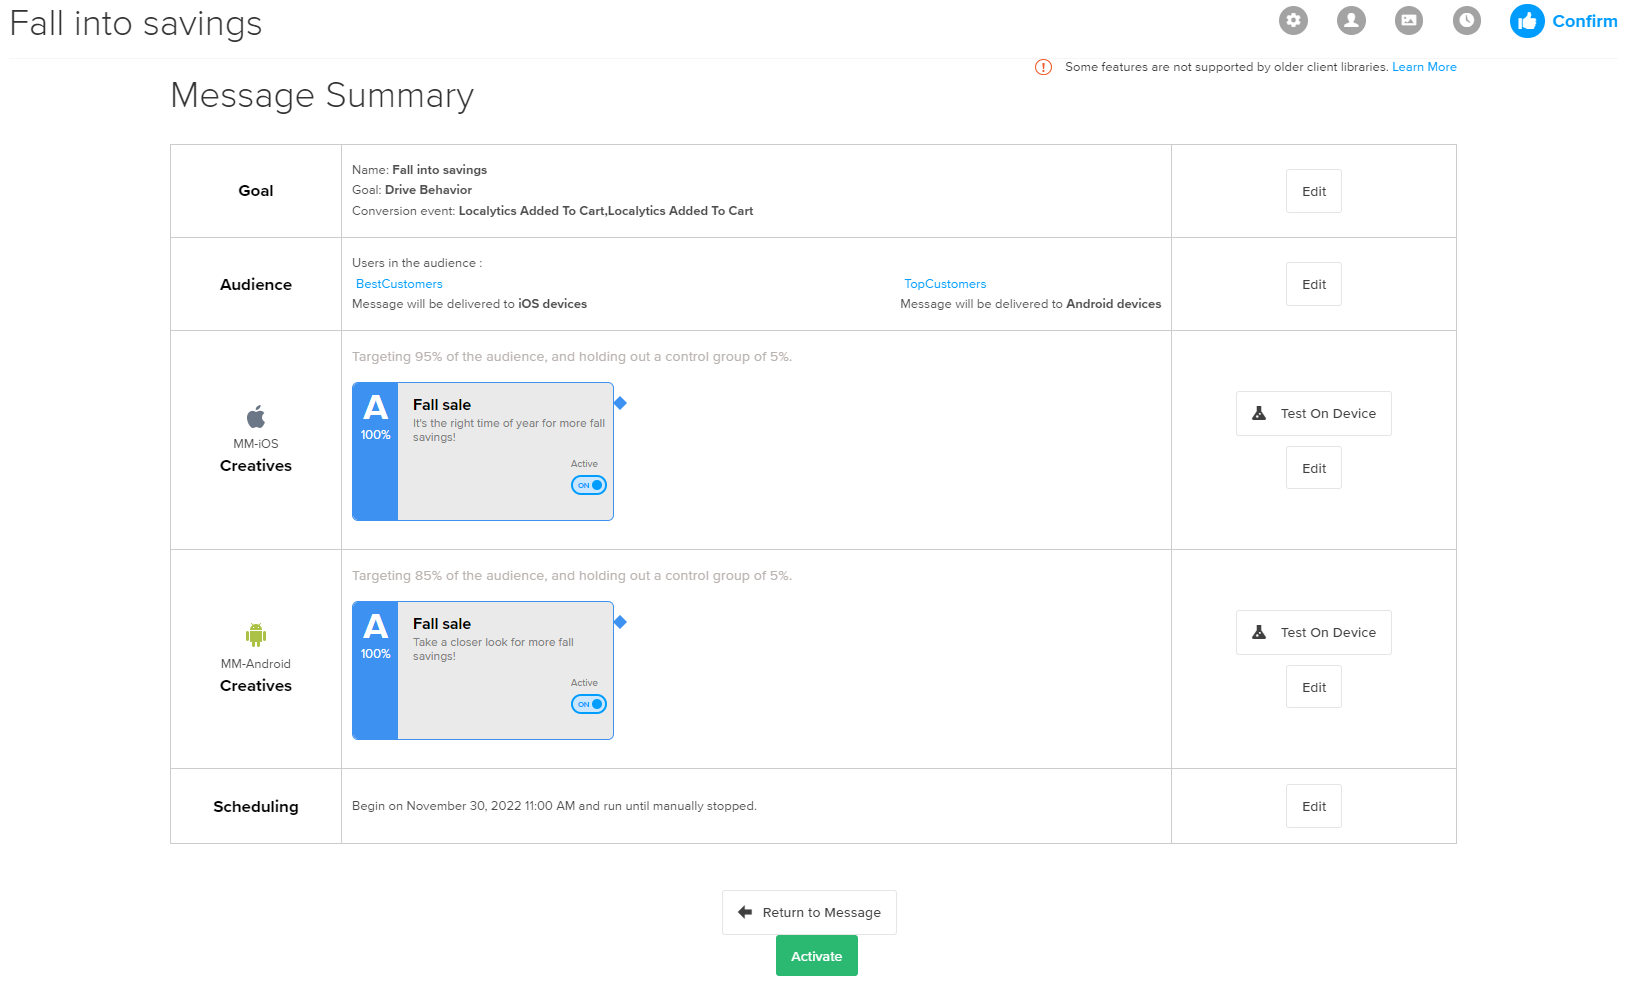
On the Confirm page you’ll see a full breakdown of each step in the message you built.

If you are building push messaging across Android and iOS apps, you will see the settings for both apps in the Goal and Audience rows, plus two separate Creative rows, where you can review and test the message for each app separately.

Reviewing and testing your message
-
Review the information on the Confirm page.
-
Select Edit for any step you want to change.
-
Make your changes, and then review each step until you return to the Confirm page.
Before you activate the message, you’ll want to test the message on your device so you can ensure that the message you’ve built looks and works the way you expect it to.
-
Select Test on Device.
Tip: Don’t see the Test on Device button? Your SDK was implemented without test mode enabled. You’ll need to speak to your Development team to get this installed properly. Feel free to reach out to our Support team if you need help.
For instructions on testing your device, see Test mode.
Activating your message
- When you are ready to send the message, select Activate.
Tip: To cancel this message and change its status to Inactive, select Deactivate.
-
To confirm, select Activate again.
Celebrate!
